 If you’ve ever looked at that little beige phone jack sitting uselessly on your baseboard and thought, “Do I even need this anymore?” you’re not alone. Many older homes still have outdated phone jacks left behind from the landline days.
The good news? You can remove an old phone jack from your baseboard easily and safely. It’s a simple DIY project that freshens up your walls and gets rid of clutter no electrician needed (in most cases).
Let’s go step by step to make sure you do it the right way safely, cleanly, and without leaving an ugly hole behind.
Can You Remove Old Phone Jacks Yourself?
Yes, absolutely. Most old phone jacks are low-voltage devices that can be safely removed by homeowners.
These jacks were part of landline wiring that used to run through walls and baseboards. Unless you’re still using a home phone (which is rare in 2026), those wires aren’t connected to any live system anymore.
Here’s the thing though while there’s no dangerous current, it’s smart to double-check that the line is dead before touching any wires.
Here’s what you can do:
- Unplug any phone devices connected to jacks in the house.
- Check for dial tone. If there’s none, it’s likely inactive.
- If you’re uncertain, turn off your home’s phone circuit (if you still have one) from the main box.
Once you confirm the line is inactive, you’re good to go.
Is There Electricity in Old Phone Jacks?
This is one of the biggest worries homeowners have and it’s a valid one.
Traditional landline phone lines carry about 48 volts DC, but that’s extremely low compared to regular 120V home wiring. It’s enough for a small buzz if mishandled during a ringing signal, but not harmful.
However, if your home no longer has an active landline service, those wires are most likely completely dead.
Still, here’s a safe rule of thumb:
Always assume wires might be live until you confirm otherwise.
If you want to double-check:
- Use a non-contact voltage tester (the small pen-style tool from any hardware store).
- Touch it near the exposed wire ends.
If it doesn’t beep or light up, you’re safe.
Simple, quick, and safe that’s how we like it.
Tools You’ll Need Before You Start
Before diving in, gather a few basic tools. You probably already have most of them lying around.
| Tool | Purpose |
|---|---|
| Screwdriver (flat & Phillips) | To remove faceplate and mounting screws |
| Wire cutter or pliers | To snip and pull old wires cleanly |
| Utility knife | To clean the area or scrape paint buildup |
| Drywall patch or filler | To cover up the hole |
| Sandpaper | To smooth the patched surface |
| Paint & brush | To blend the repair with your baseboard |
Optional but helpful:
- Voltage tester for extra safety.
- Cable caps to seal cut wire ends if you decide not to remove them entirely.
Step-by-Step: How to Remove an Old Phone Jack from the Baseboard
This is the fun part rolling up your sleeves and finally getting rid of that old eyesore.
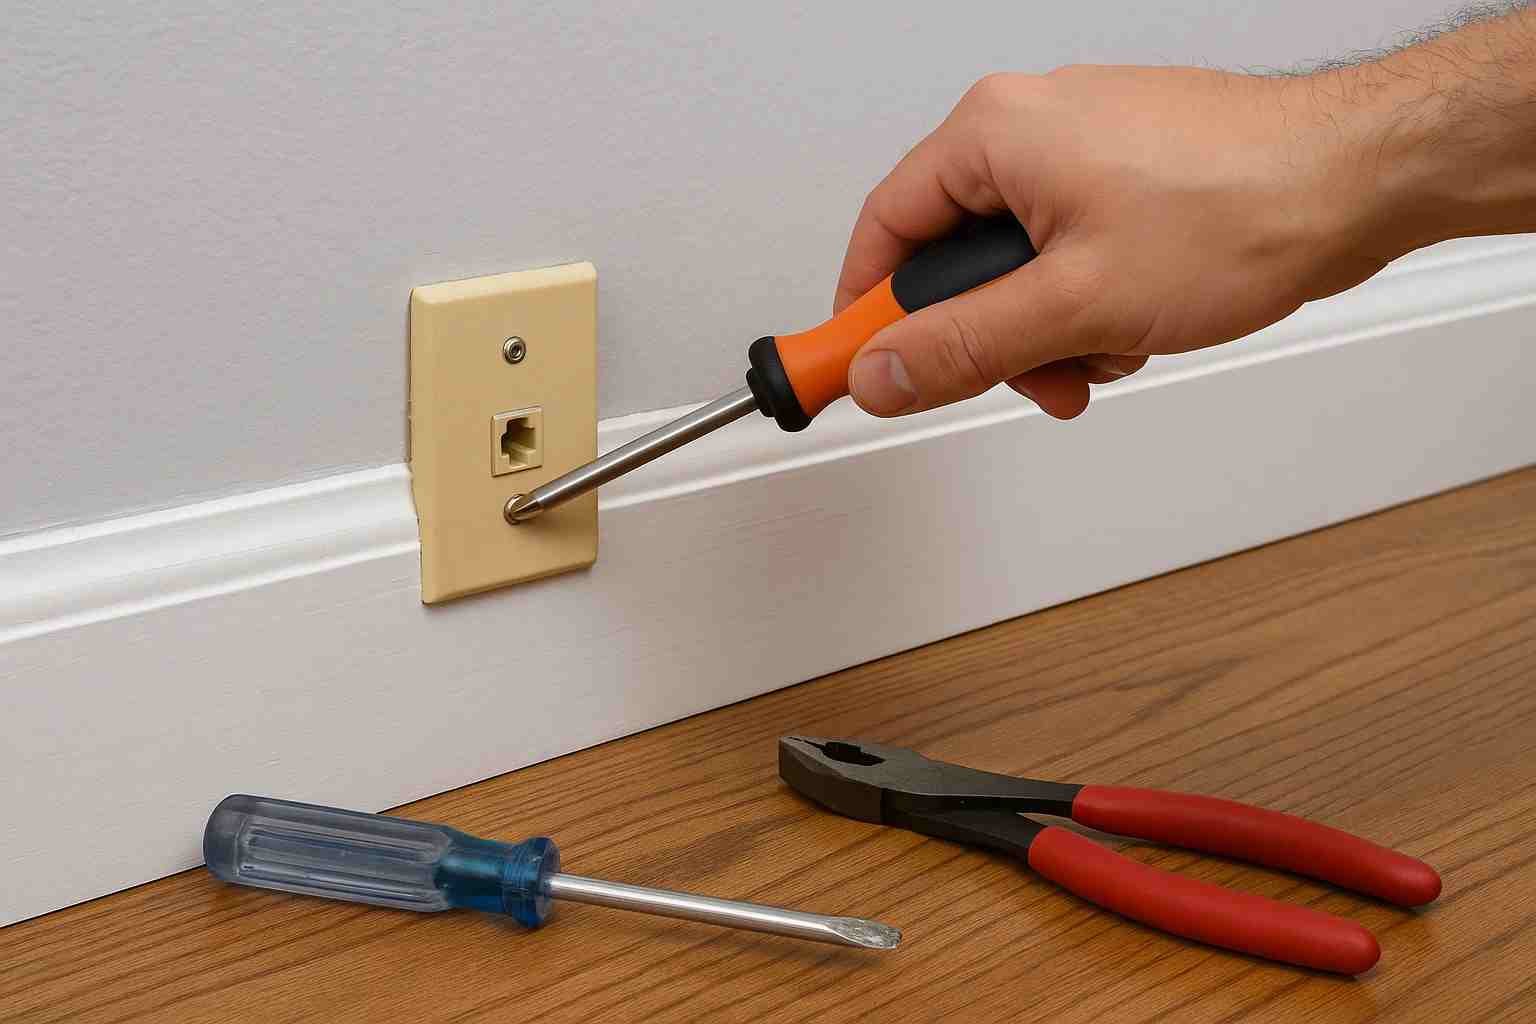
Step 1: Unscrew the Faceplate
Start by removing the screws from the jack plate using your screwdriver.
Be gentle some plates are painted over and may stick a bit. If that happens, run a utility knife gently around the edges to break the paint seal.
Once unscrewed, you’ll see two to four small wires connected to metal terminals inside.
Step 2: Identify the Wires
Old phone lines usually use these color pairs:
- Red and Green for line 1
- Yellow and Black for line 2 (if there was a second line)
If you’re curious, red is “ring,” green is “tip” but for removal, you don’t need to worry about that.
Step 3: Disconnect the Wires
Use a screwdriver to loosen the tiny screws holding the wires in place.
Gently pull the wires free. If they’re twisted or stuck, use pliers to ease them out.
If you plan to completely abandon the phone system:
- Cut the wires close to the wall.
- Twist them together and cap them with a small wire nut.
- Push them back gently into the hole.
Step 4: Remove the Mounting Box
Now, the baseplate or junction box is usually attached to the baseboard or wall.
If it’s:
- Surface-mounted (outside the wall) you’ll see screws holding it onto the wood. Just unscrew and lift it off.
- Flush-mounted (recessed) it may have small tabs or nails holding it. Use your screwdriver or small pry tool to pop it loose.
Be patient. Don’t yank slow and steady prevents damage to your wall or trim.
Step 5: Patch the Hole
Now you’ve got a small hole where the wires came through. You can either cap it with a blank wall plate or patch it completely.
Option 1: Use a blank cover plate
- Buy a white plastic blank wall plate from any hardware store.
- Screw it onto the same hole.
It’s the easiest way to hide the mess while keeping access open.
Option 2: Patch and paint
If you want it gone for good:
- Fill the hole with drywall patch or wood filler.
- Let it dry for an hour or two.
- Sand smooth with fine-grit sandpaper.
- Paint to match your wall or baseboard.
It’ll look like the jack was never there.
What to Do with the Old Wall-Mounted Phone Jack
If your jack was mounted higher on the wall the removal steps are the same, but patching might need extra care for a smooth finish.
Here’s what you can do with the leftover hardware:
- Recycle the plastic and metal (check your local recycling guide).
- Keep the screws for future DIY fixes.
- Dispose of the old wires safely in your household trash.
Fun fact: Some people even turn the old jack spot into a USB charging port or hidden outlet. If you’re a DIY fan, that’s a creative upgrade worth considering.
How Do I Close Off an Old Phone Jack Completely?
If you want it totally gone wires, box, everything here’s how to close it off cleanly:
- Cut and cap the wires as mentioned earlier.
- Fill the hole with expanding foam or filler (if it’s deep).
- Once hardened, sand smooth and apply a skim coat of wall compound.
- Prime and paint over the area.
Pro tip: use wood filler for baseboard holes and drywall compound for wall ones.
This gives a completely flush, invisible finish especially after a fresh coat of paint.
Should I Call an Electrician or Can I Do It Myself?
In most homes, removing an old phone jack is a DIY-safe task.
But, there are a few exceptions where you might want help:
- If your phone jack shares a box with power outlets (rare but possible).
- If you see thick or modern network cables (might be connected to internet or security systems).
- If you’re unsure about whether the wiring is live.
In those cases, a quick visit from a licensed electrician or handyman can ensure safety and avoid any surprises.
For everyone else this is a simple, satisfying home improvement you can do in under an hour.
Real-Life Example: A Quick Weekend Fix
When I first removed mine, it was one of those old beige plates stuck behind a side table.
I’d painted around it for years (you probably have too). One weekend, I finally unscrewed it turns out it wasn’t even connected!
After patching and painting, that wall looked instantly cleaner and more modern. The best part? It cost me less than $10 for filler and paint.
Sometimes, the smallest changes make your space feel brand new.
Tips for a Cleaner Look After Removal
- Paint the baseboard afterward it hides patch marks perfectly.
- If your jack left discoloration, use a primer before the final coat.
- Keep any disconnected wires labeled, just in case you ever need them again.
- If you’re doing multiple rooms, check each jack some may still connect to your internet modem or alarm system.
A little patience goes a long way toward a seamless finish.
Can I Reuse the Old Phone Line for Internet or Other Uses?
That’s a smart question and yes, sometimes you can repurpose the wiring.
Old telephone cables can be reused for:
- DSL internet connections (if still available in your area).
- Low-voltage projects like smart doorbells, thermostats, or sensors.
But keep in mind:
Old wiring isn’t ideal for modern broadband or Ethernet networks.
If you want fast speeds, it’s better to install Cat6 or fiber-ready cables instead of relying on 1980s copper lines.
How to Make the Wall Look Brand New After Removing the Jack
Once the patching is done, make sure your wall or baseboard blends smoothly:
- Prime first, especially if you used filler.
- Paint two thin coats, not one thick layer.
- Use a small brush or foam roller for even texture.
- If your wall has texture, dab lightly with a sponge while the paint is wet to mimic the pattern.
You’ll be surprised how polished it looks like the jack never existed.
A Simple Fix That Modernizes Your Home
Removing an old phone jack from your baseboard isn’t just a cleanup task it’s a small victory for your home’s look and feel.
Those outdated beige plates scream “1990s,” and once they’re gone, your walls feel instantly updated.
Whether you patch it up or repurpose the space for something new, it’s one of those easy DIY wins that makes a visible difference.
So grab your screwdriver, a bit of filler, and a brush your baseboard will thank you.

Alexandra Smith: All things tech, News, Social Media Guide, and gaming expert. Bringing you the latest insights and updates on Mobiledady.com