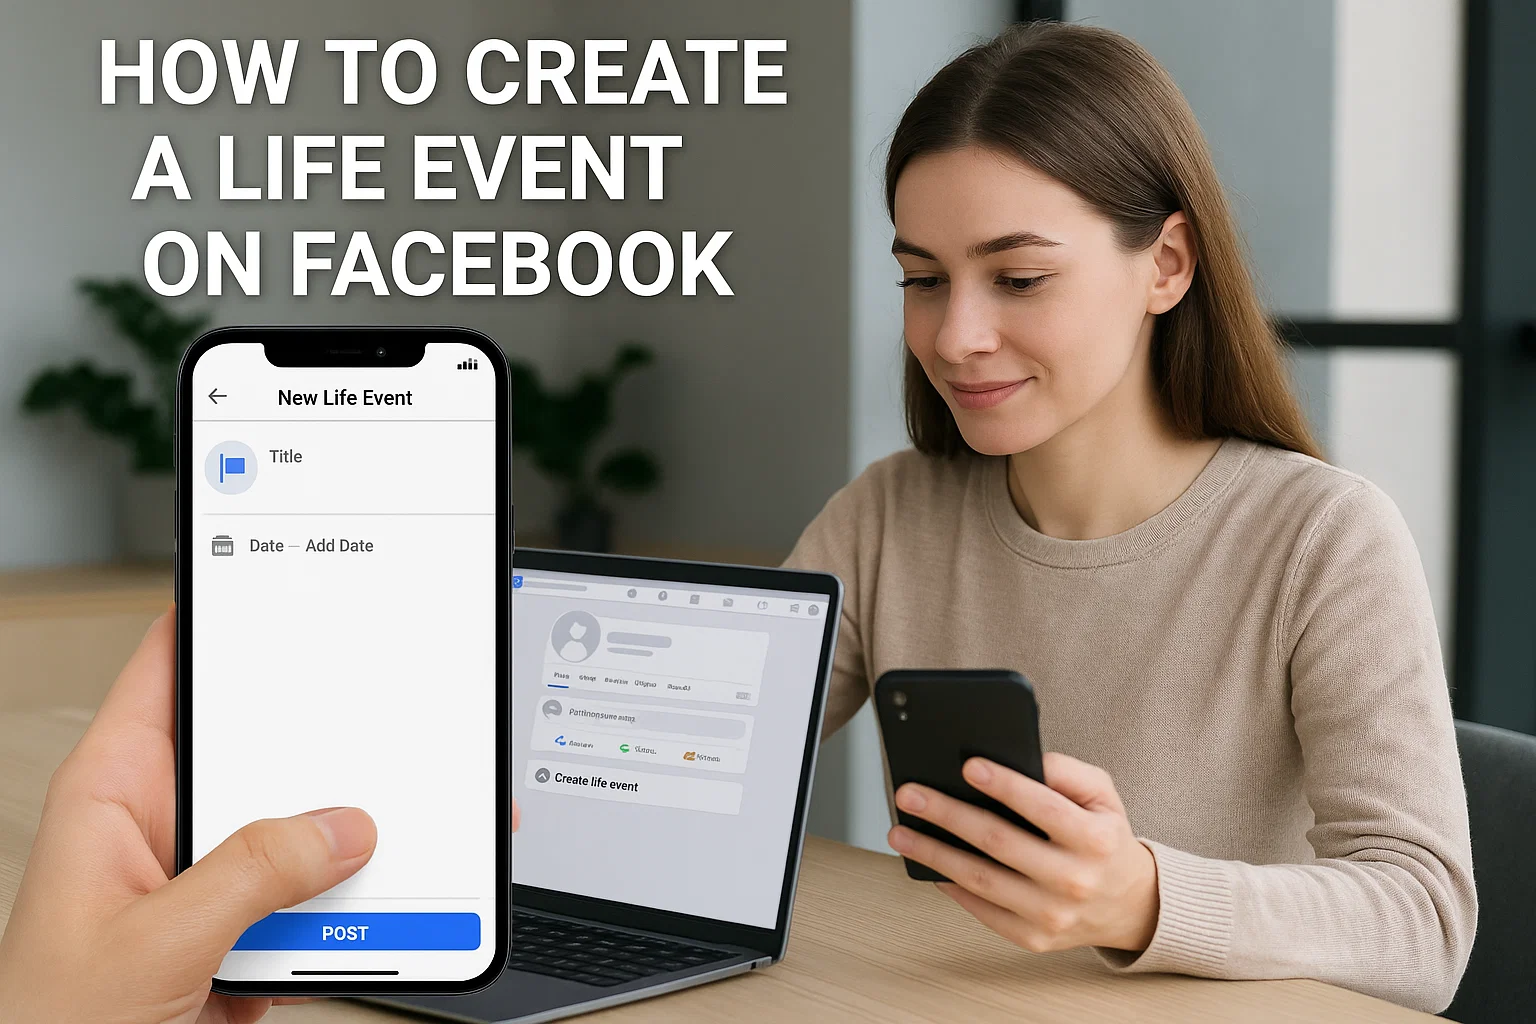
 You know those special moments you want the world to notice a new job, graduation, engagement, or even your first solo trip? Facebook has a perfect feature for that. It’s called Life Events, and it’s designed to make your milestones shine on your profile.
Quick answer: To create a life event on Facebook, go to your profile, click Add Life Event, choose a category (like Work, Family, or Travel), fill in the details, and tap Post. Your new life event will appear on your timeline and be saved in the Life Events section of your profile.
That’s the short version but if your event isn’t showing up, or you want to make it more eye-catching, keep reading. I’ll walk you through the whole thing step by step, explain how the feature works, and share a few simple tricks to make your life events actually stand out.
What Exactly Is a Facebook Life Event?
A Life Event is Facebook’s way of helping you highlight major moments. It’s more than just a post it’s a visual timeline card that shows up with a big photo, icon, and sometimes a special frame.
Think of it like your personal scrapbook inside Facebook. You can add:
- Achievements: New job, graduation, awards
- Personal milestones: Engagements, weddings, new home
- Memories: Moving to a new city, big trips, first day of school for your child
- Health or lifestyle updates: Recovery, weight loss, or a major lifestyle change
What makes it special is how it stays pinned in your profile’s “Life Events” section so even years later, people can see those big highlights.
How To Create a Life Event on Facebook (Updated for 2025)
Let’s go over the step-by-step process using both the mobile app and the desktop version. Facebook updates its layout often, so this guide reflects the latest design as of October 2025.
Creating a Life Event on the Facebook App
- Open Facebook and go to your Profile.
Tap your profile picture or your name from the Home screen. - Tap “Add to Story” or scroll down.
Below your profile photo, you’ll find the option “Add to Story.” Right beneath that, tap “Add Life Event.” - Choose a Category.
You’ll see categories like Work & Education, Family & Relationships, Home & Living, Health & Wellness, Travel & Experiences. - Pick the Type of Event.
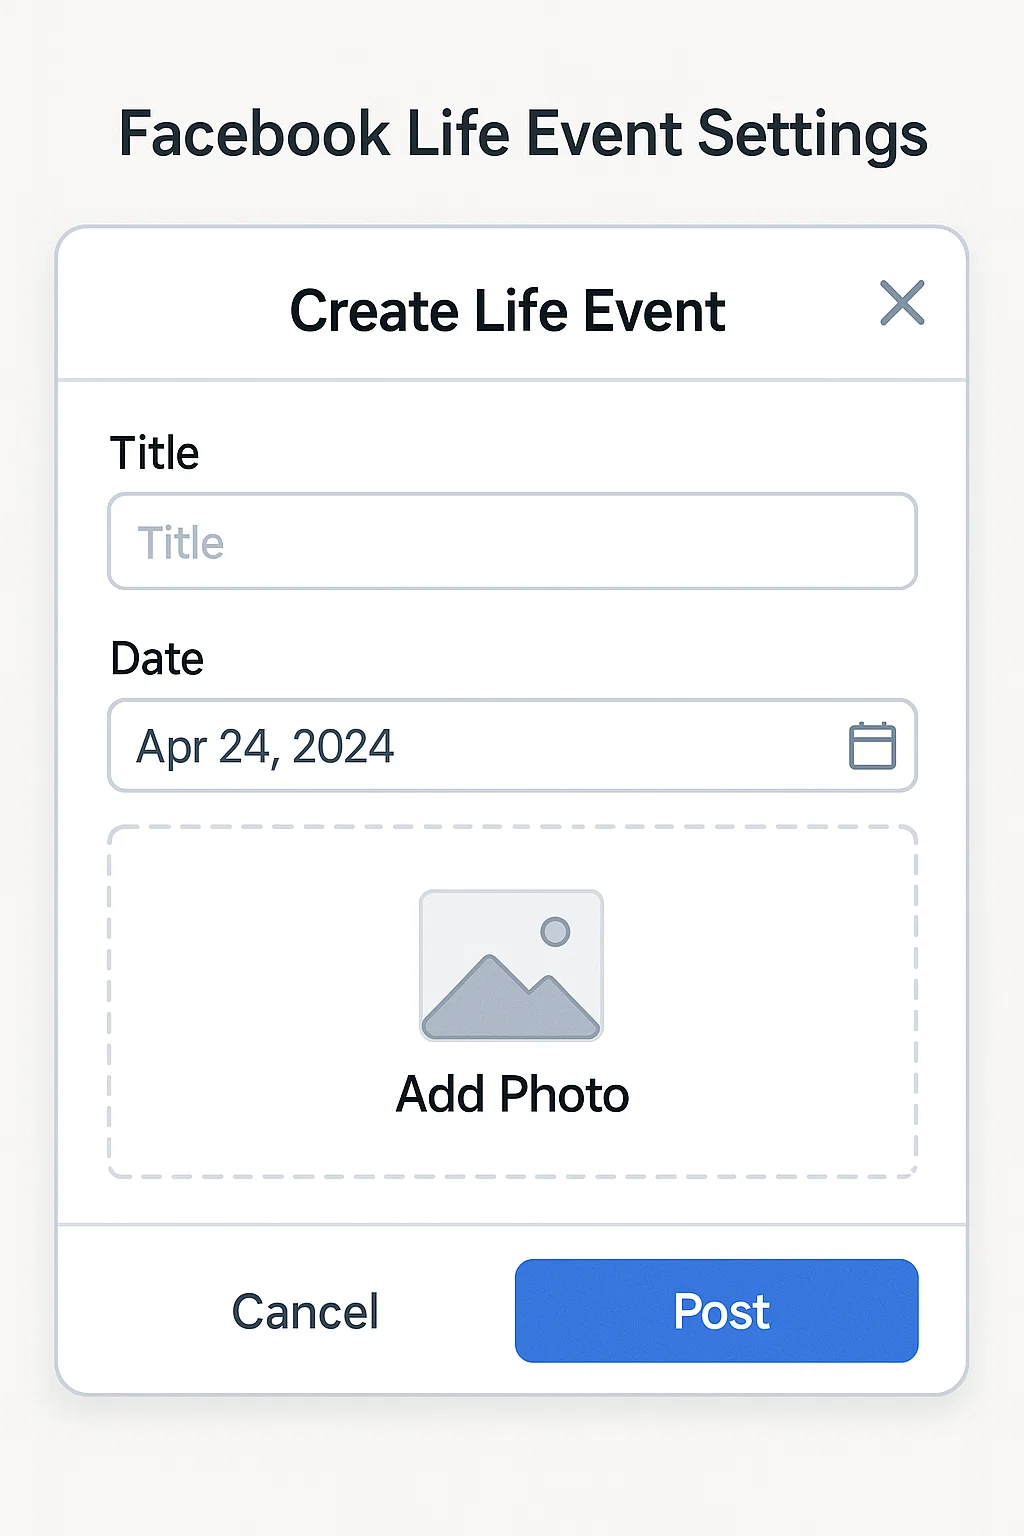
Example: under “Work & Education,” you can select “Started a new job.” - Fill in the Details.
Add:- Title (e.g., “Started working at Mobiledady”)
- Location
- Description or story
- Date
- Optional photo or video
- Set Your Privacy.
Choose who can see your event Public, Friends, or Only Me. - Post Your Event.
Once everything looks right, tap Post.
Your event will instantly appear on your timeline with a special icon and in your “Life Events” tab.
Creating a Life Event on Desktop (Facebook Web)
- Go to your profile.
Click your name or profile photo from the top bar. - Find “Life Events.”
On the menu below your cover photo, click “Life Events.” - Select a Category and Event Type.
Example: “Got a New Job” or “Moved to a New City.” - Add Details and Media.
Fill in the title, location, and story. You can also upload photos or tag friends. - Adjust Privacy Settings.
Decide who can view it. - Click “Save” or “Post.”
And that’s it your milestone now appears on your timeline and gets a special spot on your profile.
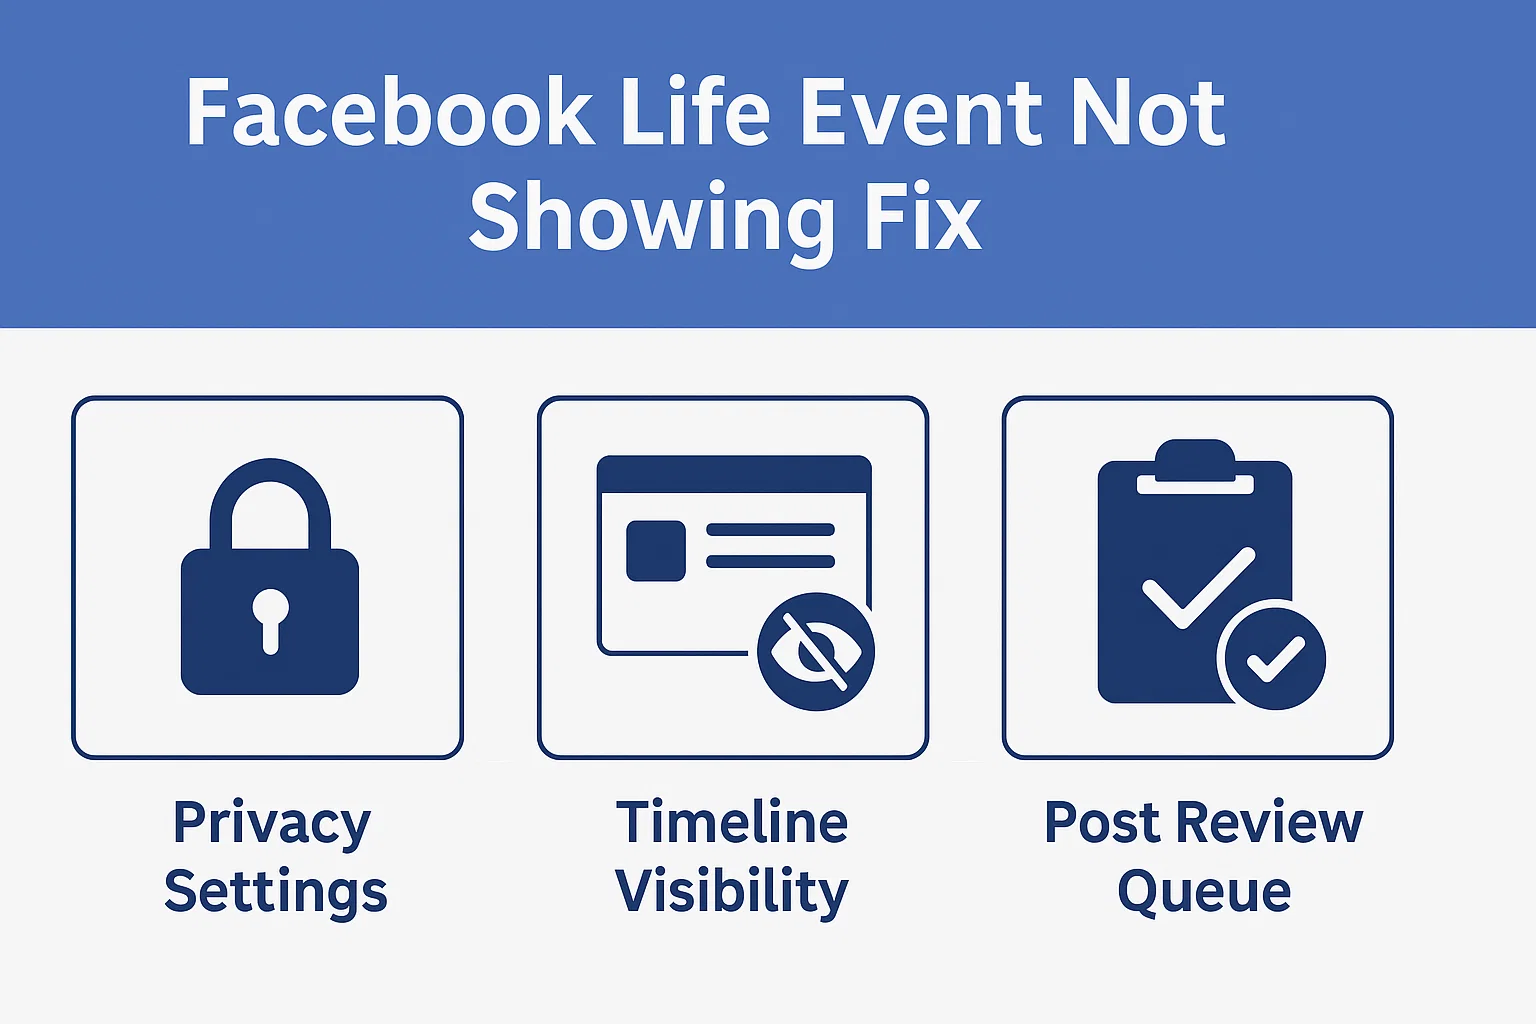
Why Isn’t My Life Event Showing on My Timeline?
It happens more often than you think you post a life event, but it just… disappears. Here are a few reasons why that might happen:
| Problem | Why It Happens | Quick Fix |
|---|---|---|
| Privacy Setting | You selected “Only Me” or “Friends Except…” | Edit privacy and change to Public or Friends |
| Timeline Review On | Facebook is holding it for approval | Check Timeline Review under settings and approve the post |
| Glitch or Delay | Temporary app bug or connection issue | Refresh app or log out and back in |
| Event Added with Past Date | Facebook sorts events by date | Scroll down your timeline it may appear under the older date |
| Photo Didn’t Upload | Large file or weak connection | Edit event and re-upload a smaller image |
If it’s still not showing, try deleting the event and recreating it. Just make sure your internet connection is stable and your app is updated.
How To Make Your Life Event Stand Out
A plain “Got a new job” update can easily get lost in the noise. But with a few tweaks, you can make it pop on your timeline.
1. Add a Clear, Catchy Title
Instead of “Started a new job,” try:
- “Excited to Start My New Journey at Mobiledady!”
- “Stepping Into a New Chapter with XYZ Company.”
2. Use a Bright, Eye-Catching Photo
Pick a clear, happy photo maybe you in your new office or holding your degree. Avoid screenshots or dull images.
3. Add a Personal Caption
A few heartfelt lines make it relatable:
“After months of hard work and countless interviews, I’m thrilled to start my new role. Dreams really do come true!”
4. Tag People or Places
Tagging friends, colleagues, or locations adds more visibility and memories.
5. Set the Right Privacy
If you want people to react and comment, choose Public or Friends not “Only Me.”
Editing or Deleting a Life Event
Made a typo or changed your mind? No worries.
To Edit
- Go to your Profile → Life Events section.
- Find the event you want to edit.
- Tap the three dots (…) → Edit.
- Update the title, date, or description → Save.
To Delete
- Tap the three dots (…) on the event.
- Select Delete Event.
- Confirm.
Can You Add Old Life Events on Facebook?
Yes, and it’s actually a great idea if you want to build your personal timeline.
You can add past milestones like:
- Graduations
- Birthdays
- First day at your old job
- Marriage or engagement anniversaries
Just pick the correct date when creating the event. Facebook will automatically place it in the right timeline spot.
How Life Events Appear on Your Profile
Life Events appear:
- In your timeline, often with a large thumbnail
- Inside the Life Events tab under your profile’s intro section
- Sometimes in your friends’ feeds (depending on their algorithms and privacy settings)
If you pin a life event, it stays visible near the top of your profile perfect for big announcements like a wedding or career change.
How to Control Who Sees Your Life Events
Your privacy choices matter.
To manage visibility:
- Tap the event.
- Choose the audience icon (a globe, friends, or lock).
- Select one:
- Public
- Friends
- Friends Except…
- Only Me
Tip: If it’s a sensitive event (like health or breakup), set it to Only Me or Close Friends.
Difference Between a Life Event and a Regular Post
| Feature | Life Event | Regular Post |
|---|---|---|
| Purpose | Marks a milestone | Shares daily updates |
| Placement | Appears in “Life Events” tab | Appears on timeline only |
| Design | Larger, special layout with icons | Standard text/photo post |
| Longevity | Stays pinned in your history | Gets buried over time |
| Engagement | Higher for major events | Depends on timing |
So, if it’s something meaningful like buying your first car use the Life Event feature. But for everyday things like “morning coffee,” stick to a regular post.
Life Events That Work Best on Facebook
If you’re not sure what qualifies as a “Life Event,” here are examples that look great:
- Started a new job
- Graduated from university
- Got engaged or married
- Had a baby
- Moved to a new home
- Adopted a pet
- Bought your first car
- Launched a business
- Completed a big goal (like a marathon)
You can even create custom events like “Started My YouTube Channel” or “Learned to Drive.”
Why You Should Use Facebook Life Events in 2025
Many people think Facebook is fading, but for big announcements, it’s still unbeatable. Here’s why:
- High visibility: Life Events get priority in feeds and attract reactions.
- Memory preservation: They stay in your timeline forever.
- Professional image: Great for career updates or achievements.
- Algorithm boost: Engagement on life events often increases profile reach.
So if you’re celebrating something important, posting it as a Life Event is definitely worth it.
Common FAQs About Facebook Life Events
1. Can I hide a Life Event without deleting it?
Yes. Tap the privacy icon on the event and set it to Only Me. It’ll stay saved privately.
2. Can I add a Life Event without a photo?
Yes, you can. But photos make it more attractive and easier for friends to engage with.
3. Why can’t I find the Life Event button?
If you don’t see it:
- Update your Facebook app.
- Switch from “Professional Mode” if it’s active.
- Use desktop it often shows the button even when mobile doesn’t.
4. Can I share someone else’s Life Event?
Not directly, but you can react or comment. You can also make your own related event (like “We got engaged!” if your partner posts first).
5. Do Life Events send notifications?
Usually, no. They just appear in friends’ feeds depending on activity level and algorithm preference.
Pro Tips to Keep Your Facebook Profile Organized
- Add older milestones gradually don’t flood your feed at once.
- Use a consistent tone or theme in captions.
- Keep your profile updated job, city, education, etc.
- Avoid oversharing sensitive information (like exact address or medical details).
Quick Recap
Creating a Life Event on Facebook is easy:
- Go to your Profile.
- Tap Add Life Event.
- Choose a category and event type.
- Add details, photo, and privacy.
- Hit Post.
If your event doesn’t show up, check your privacy settings, timeline review, or app version. And to make it stand out, personalize it with emotion, photos, and tags.
Final Thoughts
Your Facebook timeline tells your story one milestone at a time. Whether it’s the day you got your dream job or when you finally adopted your puppy, a Life Event helps you keep those memories front and center.
Just remember: a little effort in writing your caption and choosing the right photo can make your post feel authentic and memorable. Because years later, when you scroll through those moments, you’ll be glad you shared them right.

Alexandra Smith: All things tech, News, Social Media Guide, and gaming expert. Bringing you the latest insights and updates on Mobiledady.com